
Install & create an account
Install Shoplite from the Shopify App Store and approve access to the store. Shopify then sends you to Shoplite, where you create a dashboard account or sign in to an existing one. The first account that claims a newly installed shop becomes its owner; team invitees join with the role chosen for them.
Shopify issues an offline access token so background sync, webhooks and shopper chats keep working when no merchant is signed in. Shoplite currently requests these nine scopes; two can write data and the rest are read-only:
Shopify must approve newly added permissions. A scope change can therefore require reconnecting or reinstalling the app before the affected feature works.
Complete onboarding
New owners go through an eleven-screen onboarding wizard before the dashboard. First choose a Basic, Plus, Pro or Pro Plus plan and approve its 30-day trial in Shopify. Monthly plans and annual plans have different overage behaviour, which the plan screen explains before approval.
The remaining screens build the first version of the agent and tailor the dashboard:
Product and order tools read Shopify when the agent uses them. The current Knowledge screen is for curated FAQs; it does not crawl URLs or accept document uploads.
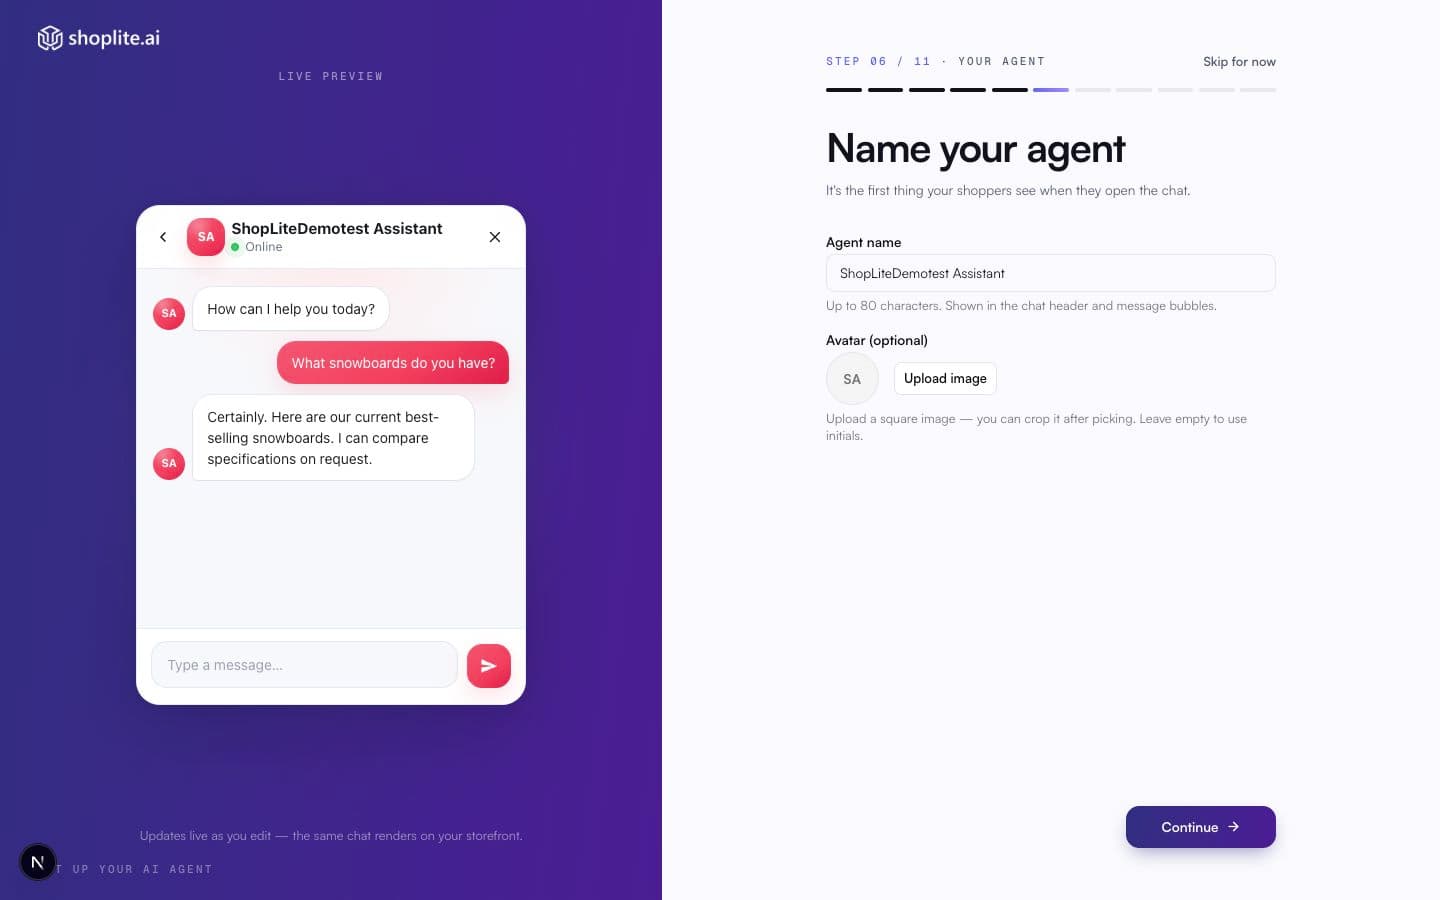
Configure the agent
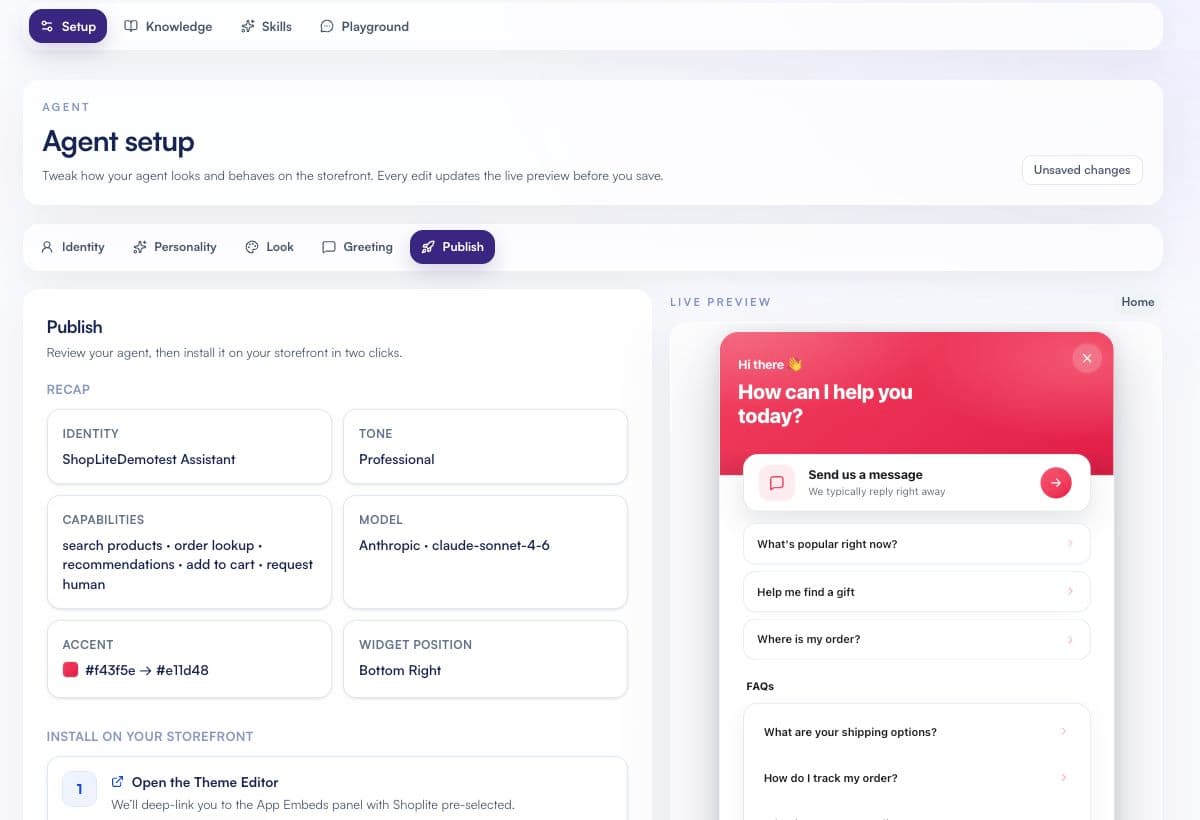
Open Chat Agent → Configure chat agent → Setup. Its five tabs match the fields the storefront widget actually supports: Identity, Personality, Look, Greeting and Publish.
Set the agent name and optional avatar URL; choose Friendly, Professional or Playful tone; add up to 2,000 characters of persona instructions; choose a solid or gradient accent and bottom-left or bottom-right position; then write the opening message and up to four suggested prompts. The preview updates before you save.
These setup controls are available on every current plan. Owners and admins can edit them; viewers have read-only access. Fonts, reading level and business hours are not current setup options.
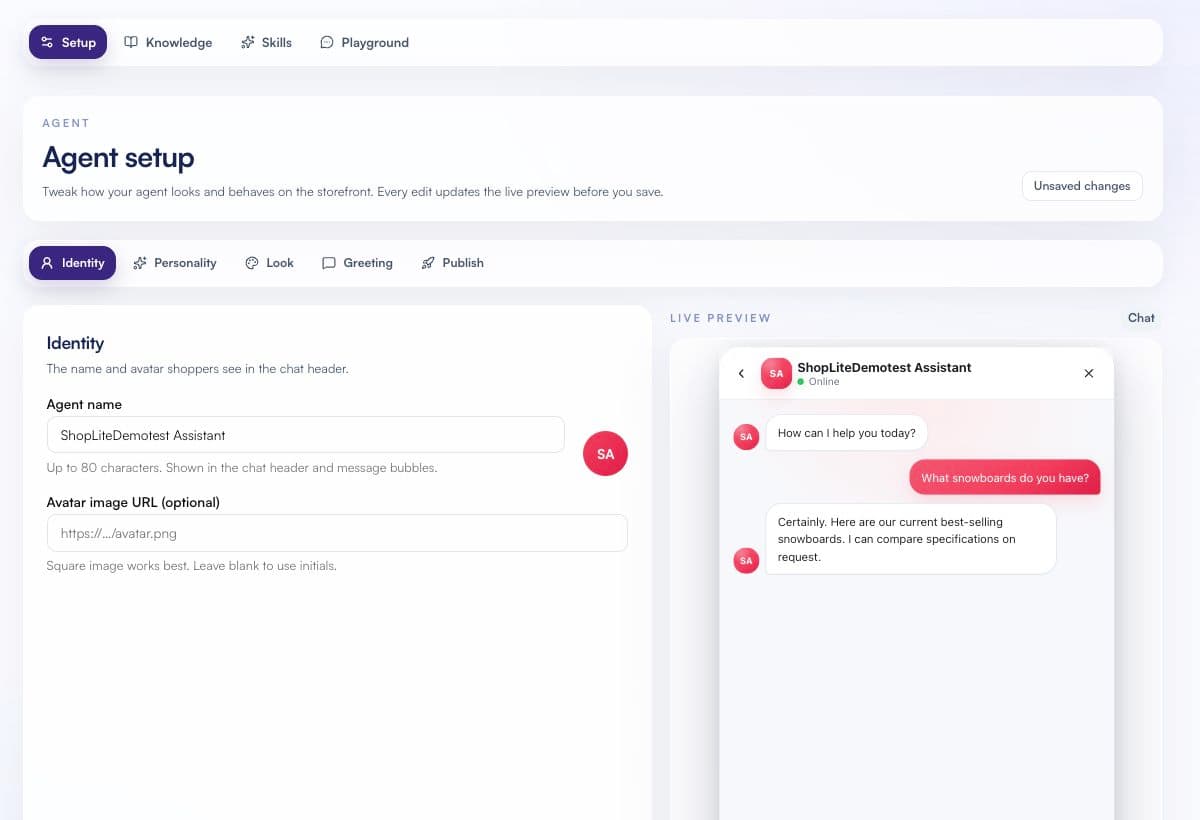
Add FAQs & choose skills
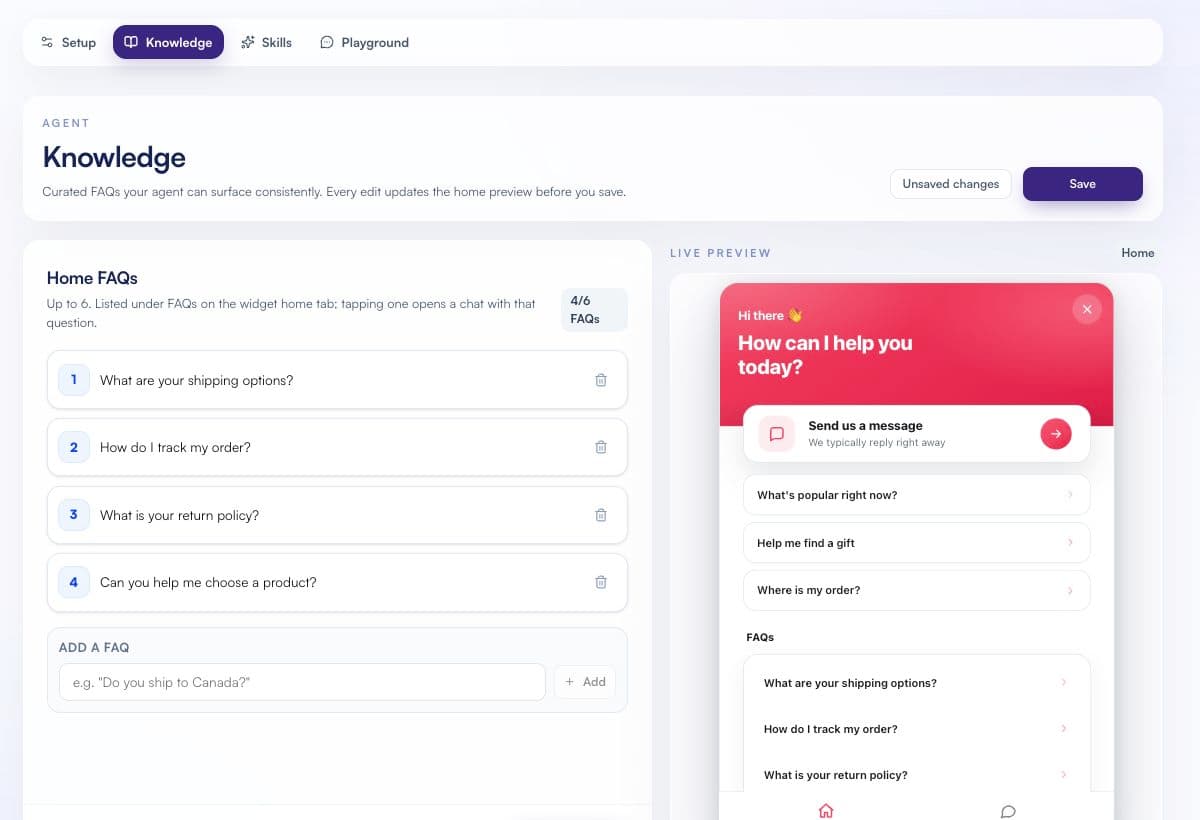
Under Configure chat agent → Knowledge, add up to six curated FAQ questions. They appear on the widget home screen; tapping one starts a chat with that question. This is the complete merchant-managed knowledge surface currently available.
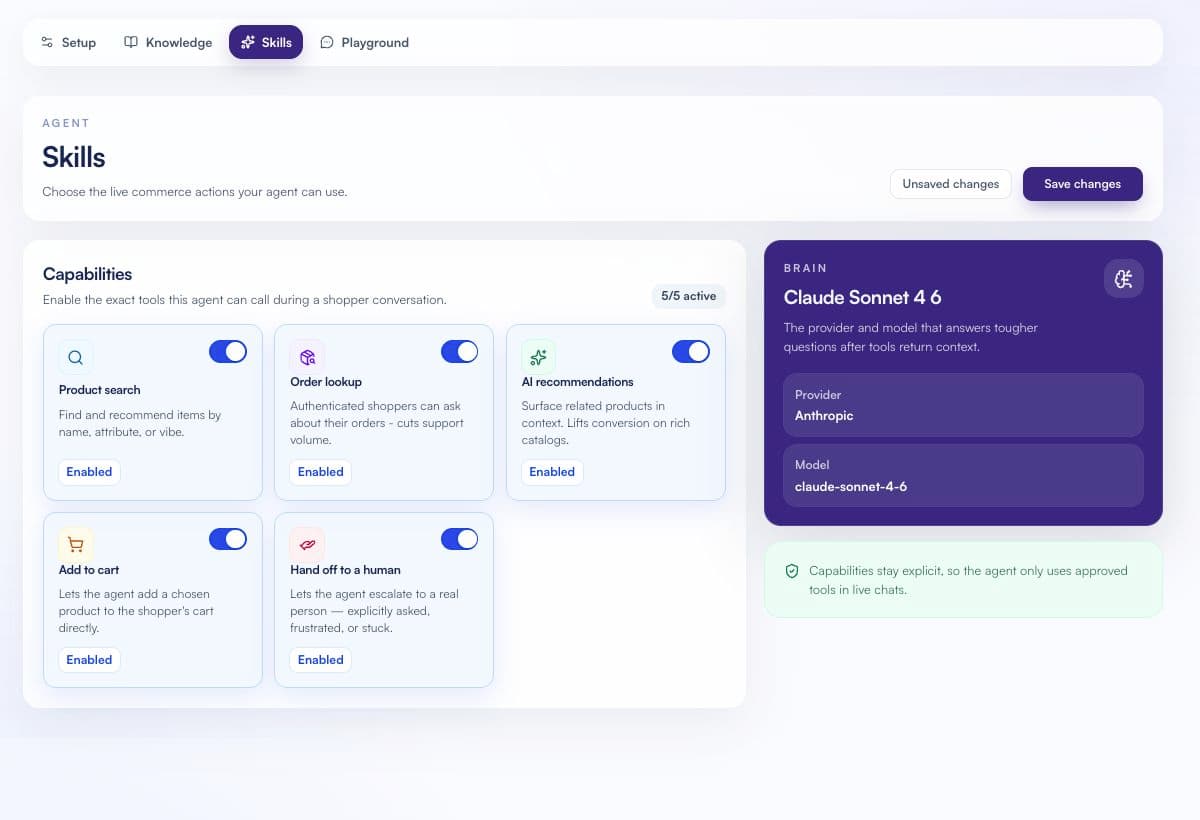
Then open Skills and switch on only the tools the agent may call: Product search, Order lookup, AI recommendations, Add to cart and Hand off to a human. Product and order results come from Shopify, and disabling a skill removes that tool from live chats. Human handoff is a Pro feature; the other four skills are part of the core agent.
Use the Persona instructions in Setup for persistent “always” or “never” rules. The published configuration does not currently expose separate citation, disallowed-topic, approval or discount-cap controls.
Test in the playground
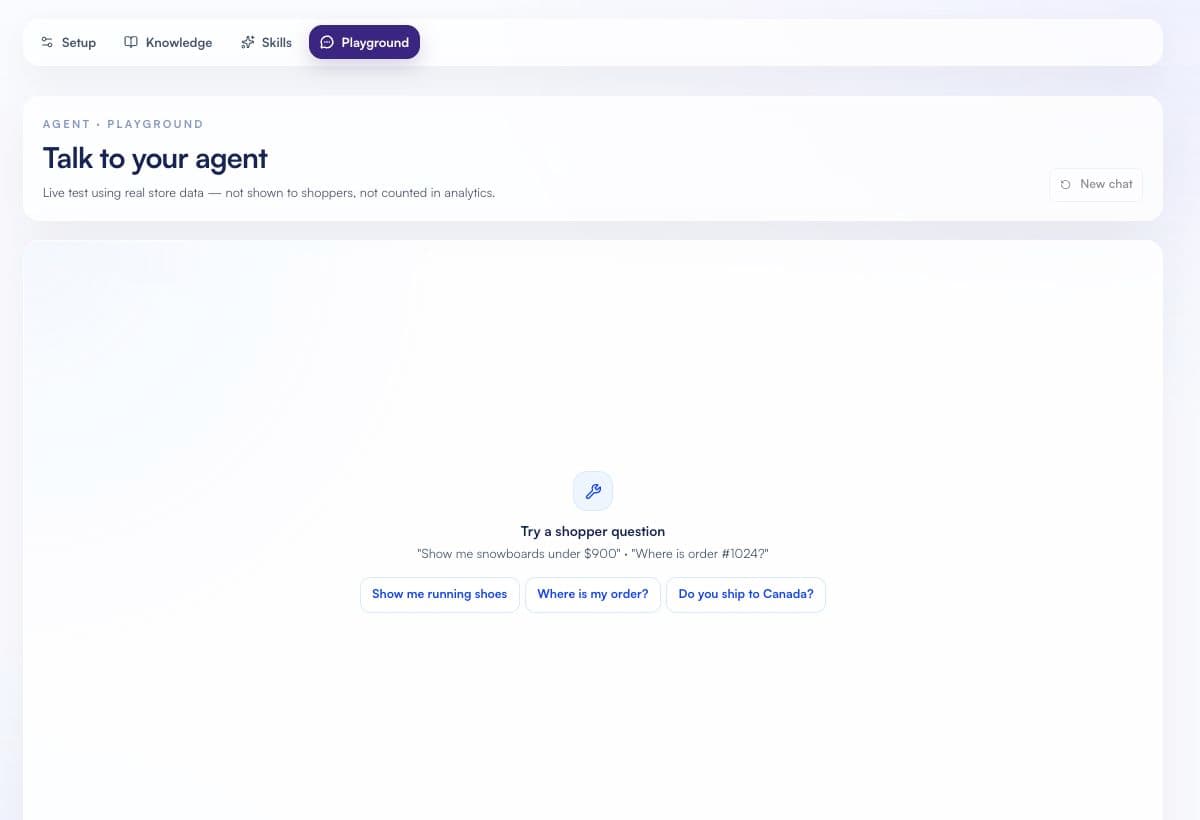
Before anything reaches a shopper, talk to the agent yourself under Configure chat agent → Playground. It uses the saved agent configuration and real Shopify tools, but playground conversations are marked as tests and excluded from analytics.
Try an available product, an unavailable product, a broad recommendation and a guest order lookup. A guest must provide both the checkout email and exact order number; the playground does not inherit a storefront customer login.
Publish to your theme
Publishing takes two separate switches, and both are required. Shoplite ships as a theme app embed - no script tags and no theme-file edits - so Shopify requires you to enable the embed in Theme Editor. Separately, your agent has its own on/off switch in Shoplite, and it starts off.
They do different jobs: the App embed puts the widget on your theme, and the Turn the agent on switch lets it serve shoppers. With the embed on but the agent off, your storefront shows nothing at all - that is the most common reason a freshly installed agent appears to do nothing.
The current publish flow expects Online Store 2.0. If App embeds is not available in Theme Editor, update or switch to a supported theme before publishing.
Automations & handoff
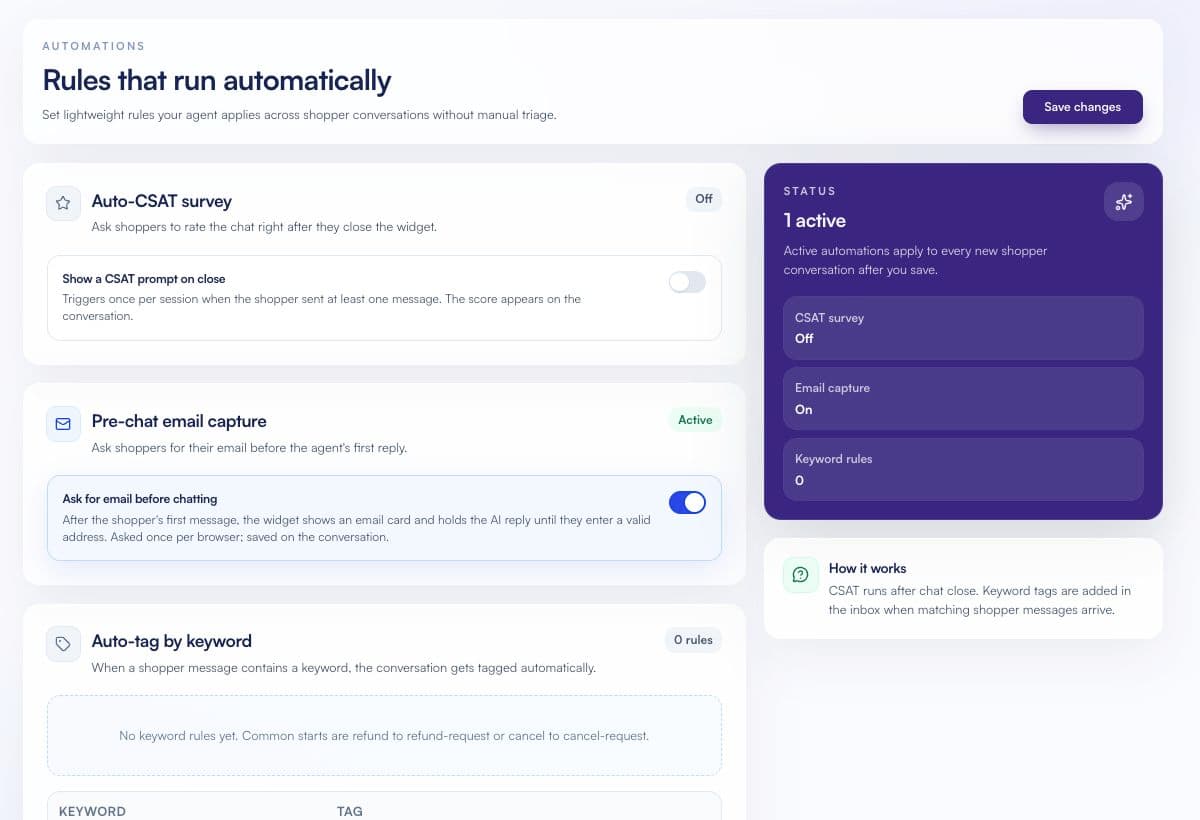
On Plus and above, Automations provides three saved rules: show a CSAT survey when a chat closes, ask for email before the first AI reply, and add conversation tags when shopper messages contain configured keywords.
Human handoff is enabled separately under Skills on Pro and Pro Plus. Storefront and connected WhatsApp threads appear under Conversations. Once a thread is handed off, an available team member can reply from the dashboard, add shopper-level internal notes and release it back to the AI. Email integrations send alerts and transcripts; they are not an inbound email inbox.
Use analytics & reports
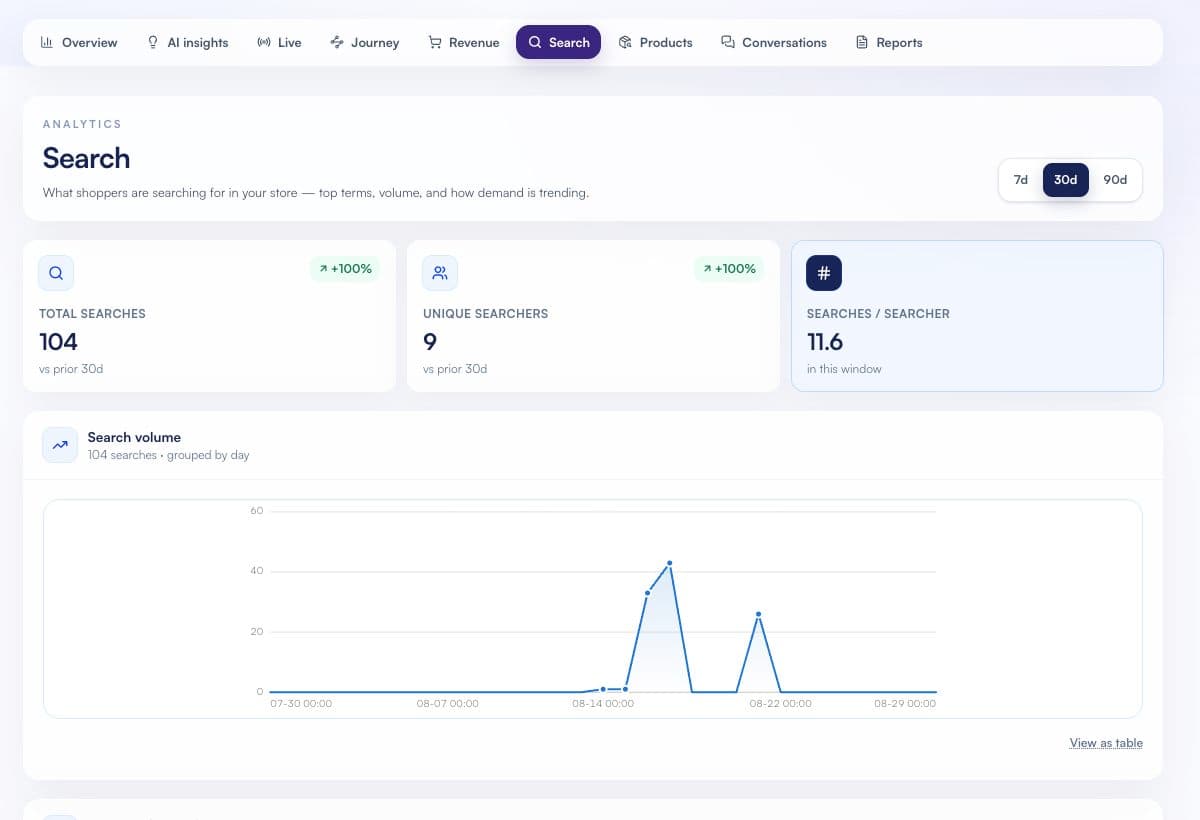
Analytics excludes playground tests and separates chat activity from product-search events. Start with these three views:
Product lookups that returned nothing, plus vocabulary fixes, demand gaps and refinement paths.
CSAT, response speed, automation tags, topics, intent, sentiment and low-confidence answers.
Chats tied to carts and orders, with assisted revenue, AOV comparison and estimated support deflection.
Reports includes a weekly digest preview, Excel downloads, a printable report you can save as PDF, and a multi-store rollup. Pro unlocks the full Store Analytics sections and the ask-your-data AI assistant; the core chat analytics remain visible without those Pro features.
Team & roles
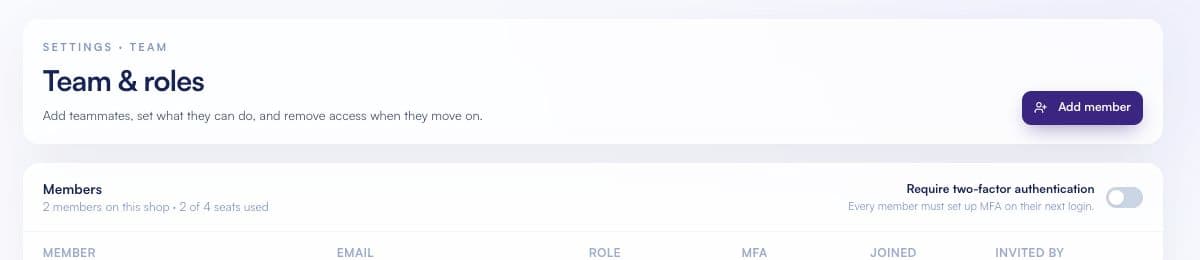
Invite teammates from Settings → Team & Roles. Owners have full control, admins can operate the agent and manage non-owner members, and viewers are read-only. Pending invites count toward the seat limit: Basic includes one seat, Plus two, Pro three and Pro Plus four.
The same screen can require two-factor authentication for the whole shop or for individual members. Owners and admins can also make themselves available for automatic human-handoff assignment.
Privacy & data
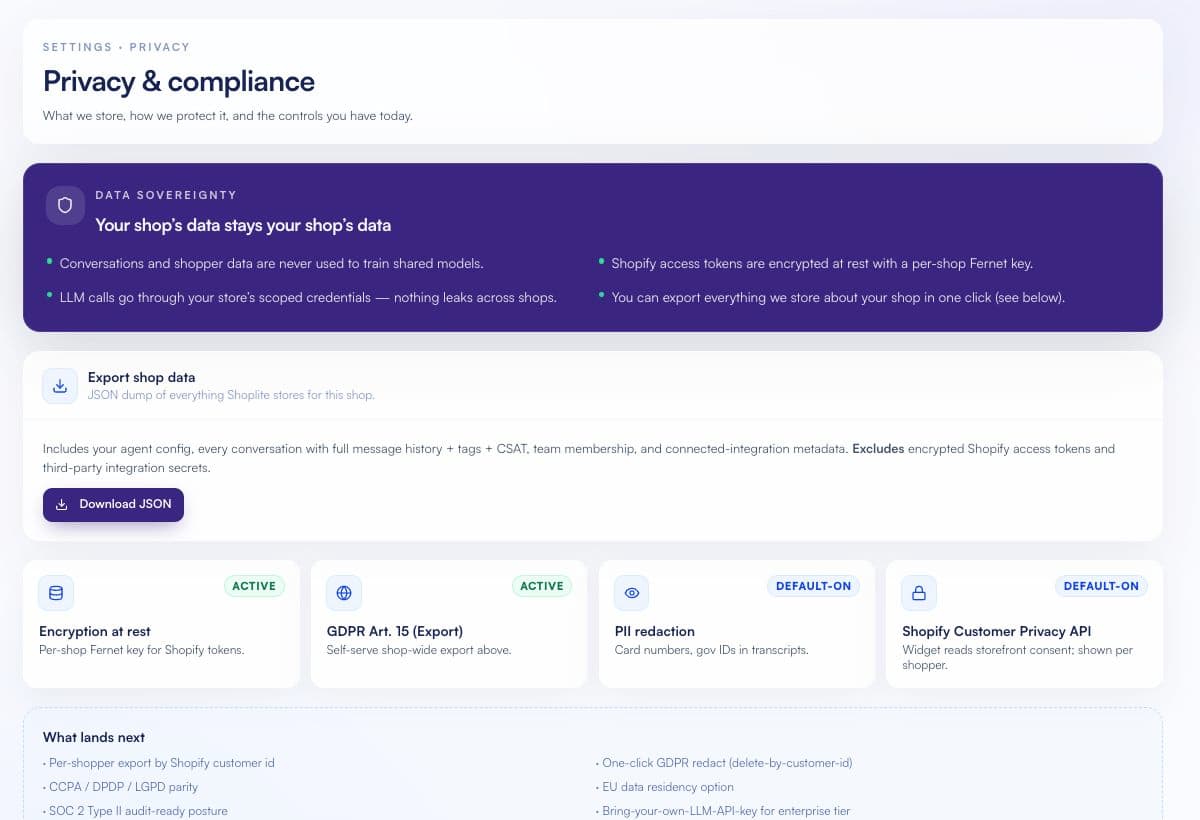
Shopify tokens and stored integration secret fields are encrypted at rest. Mandatory Shopify privacy webhooks are HMAC verified, logged and acknowledged promptly. Customer and shop redaction run asynchronously; customer data requests are tracked for operator fulfilment rather than automatically emailed to the shopper.
Conversations are stored per shopper session and linked to a Shopify customer only when that shopper is signed in. A typed email is contact information, not verified identity. Shopify consent flags are stored on the conversation and surfaced with the shopper profile. Owners can download a shop-wide JSON export from the Privacy & Compliance page. See the privacy policy for retention detail.
Troubleshooting
Send us the shop URL and roughly when it happened - that is usually enough.